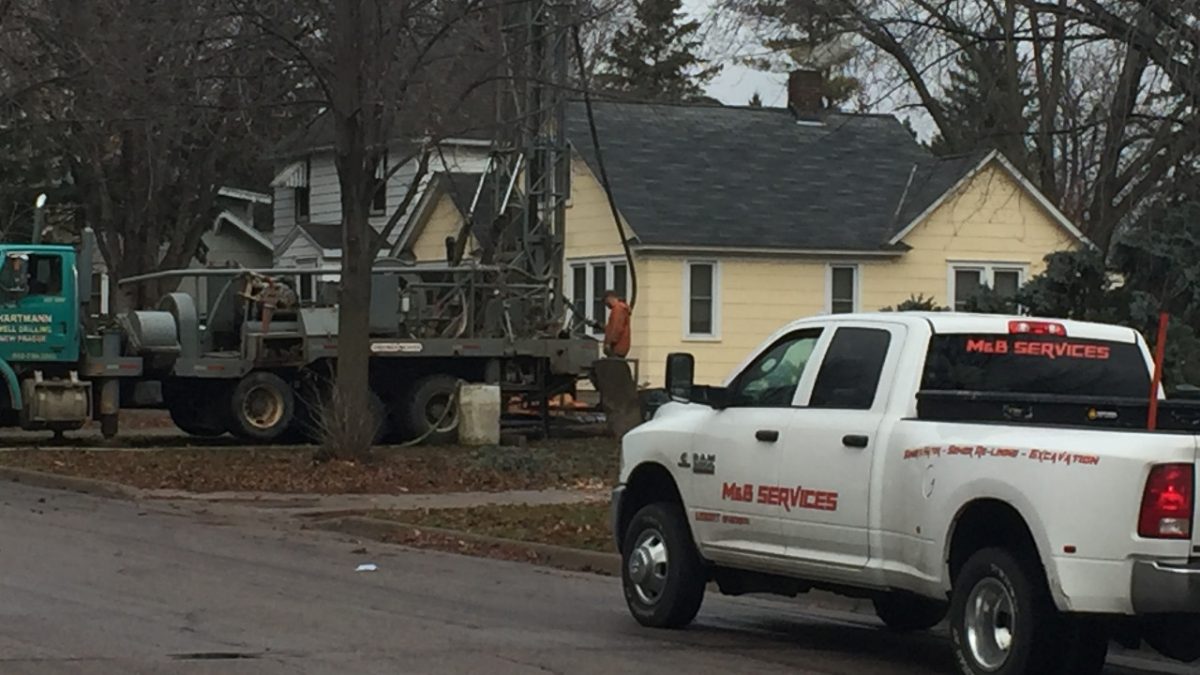
When a building is connected to the primary water supply, the water main was the main artery supplying the building with water. Water is conveyed by this important system component. An inexperienced plumbing contractor may have trouble dealing with water mains because they are complicated and time-consuming. At M&B Services, we specialize in all aspects of water main integration, installation, and repair.
Water mains require several steps, such as trenching, bedding, etc. Following is a list of the steps involved in constructing a water main.
EXCAVATION
In order to install a water main, the initial step is excavation. Digging a passage to install the pipe is a part of this process. Prior to launching this process, we consider a number of factors, including
- Ground frost conditions
- Ground water conditions
- Traffic load that will be over the pipe
- Soil type
- Size of pipe to be installed
- Surface restoration requirement and
- Depth of other utility lines that must be crossed or paralleled by the water main.
TRENCH DEPTH
The depth of a trench depends upon the climate, the size of the pipe, traffic and several other factors.
- In colder regions, severe winter frost can penetrate twice the average winter frost depth. Closed cell Styrofoam insulated board, 2 in. (50mm) thick and 2 to 4 ft (0.6 to 1.2 m) wide is considered fit, if adequate depth is not possible.
- In warmer regions, minimum depth of cover to protect it from any danger is usually 2.5 ft (0.8m) for water main.
TRENCH WIDTH
The width of trench necessary for Water Main Installation is generally governed by the following conditions
- Minimum depth to allow for proper joint assembly and compaction of soil around the pipe
- Safety considerations
- The need to minimize the external loading on the pipe
In general, the trench width below the top of the pipe should not be greater than 1 to 2ft (0.3 to 0.6 m) greater than the outside diameter of the pipe. Installation workers will have ample space to work. It is best to avoid wide trenches in small diameter pipes, especially in hard clay soils.
BEDDING
Bedding means preparing a platform for placing the pipes (PVC). Few things while bedding should be kept in mind.
- Bottom of the trench must be properly leveled and compacted so that the barrel of the pipe will have continuous, firm support along its full length.
- Leveling board should be used to ensure that there are no voids and high spots and that the grade is correct.
- In adverse soil situations (damp soil or solid rocks), special pipe bedding may be specified by the engineers. A clean, well graded granular materialupto1 in (25mm) in size. It should contain no lumps or frozen ground and have no more than 12% of clay and silt that can be sensitive to water.
- When natural trench bedding is unable to support the pipe, it is necessary to dig another 12 to 24 in (300 to 600 mm) deeper.
- Haunching is a process of placing bedding material around the haunch of a pipe. It is necessary for increasing the load bearing capacity of the pipe.
LAYING PIPE
Once the trench is ready, the pipe may be pl aced into position. There are several general directions for laying pipe.
- Inspection- A pipe should be inspected for damage. Any unsatisfactory section should be removed.
- Cleaning- Dirt, oil, grease, animals or any other foreign material should be removed before installation. The hypo chloride solution is recommended for quick and proper cleaning
- Placement- The pipe should not be rolled, it should be lowered into the trench by hand or mechanical equipment
- While placing, pipe is usually supported by a sling in the middle
- Installers should make a conscious effort to keep the inside of pipe clean during lying.
JOINING PIPE
During the Water Main Installation process, this is one of the most delicate steps. Water main maintenance must be performed correctly to avoid leaks and ensure long-term efficiency. The type of joining method is dependent on the material of the pipe and the type of joint. It is necessary to dig holes where pipes will be joined by hand. This will allow for the installation of the joint. It depends on the type of pipe and joint used what size the bell hole will be. The pipe may be stressed if the bell holes are too large.
PUSH ON JOINTS
The four general steps in making up ductile iron or PVC pipes push on joints are:
- Clean the groove and bell socket of the pipe.
- Apply lubricant to the gasket and plain and of the pipe.
- Plain and should be beveled, sharp edges may damage or dislodge the gasket.
- Small pipe can be pushed into bell socket with a long bar. A timber header should be used between the pipe and backhoe bucket to avoid damage to the pipe.
CONNECTING TO EXISTING MAINS
There are two possible ways to connect with existing mains. Installer can connect either by a new tee or by making a pressure tap.
- TEE CONNECTIONS
A tee fitting is inserted in existing mains. Existing mains must be out of connection for several hours. A piece of main is to make a cut or snap at the outside edges of the section to be removed. Then a third cut is made midway between them. When the pipe is hit with a sledge in the center, it will easily break out
- PRESSURE TAPS
Pressure taps are highly recommended and used because of their advantages. Few of the advantages are following-
- Customers are not inconvenienced by having their water turned off
- Lower probability of contaminating the water system
- Fire protection in the area remains in service
- No water loss
- Based on the time required to close valves and notify customers before inserting a tee is taken into account making a pressure tap is much faster.
Once the excavation has been prepared, a pressure tap is completed in following steps:
- The surface of the existing main is cleaned. The tapping sleeve is installed on the main, with the face of the flange vertical.
- The special tapping valve is attached to the sleeve’s projecting flange.
- The tapping machine is installed on the valve, with the shell cutter attached. The machine is supported on contemporary blocks.
- With the tapping valve open, the cutter is advanced to cut a hole in the main.
- The cutter is retracted to beyond the valve, and the valve is closed.
- The tapping machine is removed, and the new main is connected.
This is a basic overview of what we encounter during the process of working on a Water Main Installation project. When installing, repairing, or integrating a water main, it is imperative to use a licensed, insured, and experienced plumbing contractor. M&B Services r has been working with local water companies for more than eight years, and is knowledgeable about all aspects of water main projects. Your home or business can benefit from our water main repair services.
